Quick Start
This guide takes you from an empty sheet to an exported layout in five short steps. It should take about a minute. You do not need to set anything up first - just open NestMaxx and follow along.
1. Set your sheet size
The sheet is the piece of material you are cutting from. NestMaxx opens with a sheet of 3000 x 1500 mm, but you can change it to match your own material.
Open Dock > Sheet settings 
 and enter the width and height of your material. If you work in inches rather than millimetres, you can switch units in Preferences first.
Not sure what size to use? Leave the default for now. You can change the sheet size at any time and re-nest.
2. Add some parts
Press Add parts 
 in the dock. You can add parts two ways:
- From the shape library - pick a ready-made shape, such as a circle or a rectangle, and set its size. This is the fastest way to try things out. See The Shape Library.
- From your own files - import a DXF or SVG drawing of a part. See Importing CAD.
Add a few parts and set how many of each you need in the Part List. For your first nest, add two or three shapes with a quantity of ten or so each, so there is enough to fill the sheet.
3. Run the nest
Press Nest 
 (top left). A Quick Nest settings dialog opens so you can confirm the common settings (quality, part spacing, rotation and so on). For your first run the defaults are fine, so press Nest again in the dialog.
NestMaxx now packs your parts onto the sheet, fitting them around each other as tightly as the settings allow. You will see the parts drop into place as it works, and it tells you how long the run took when it finishes.
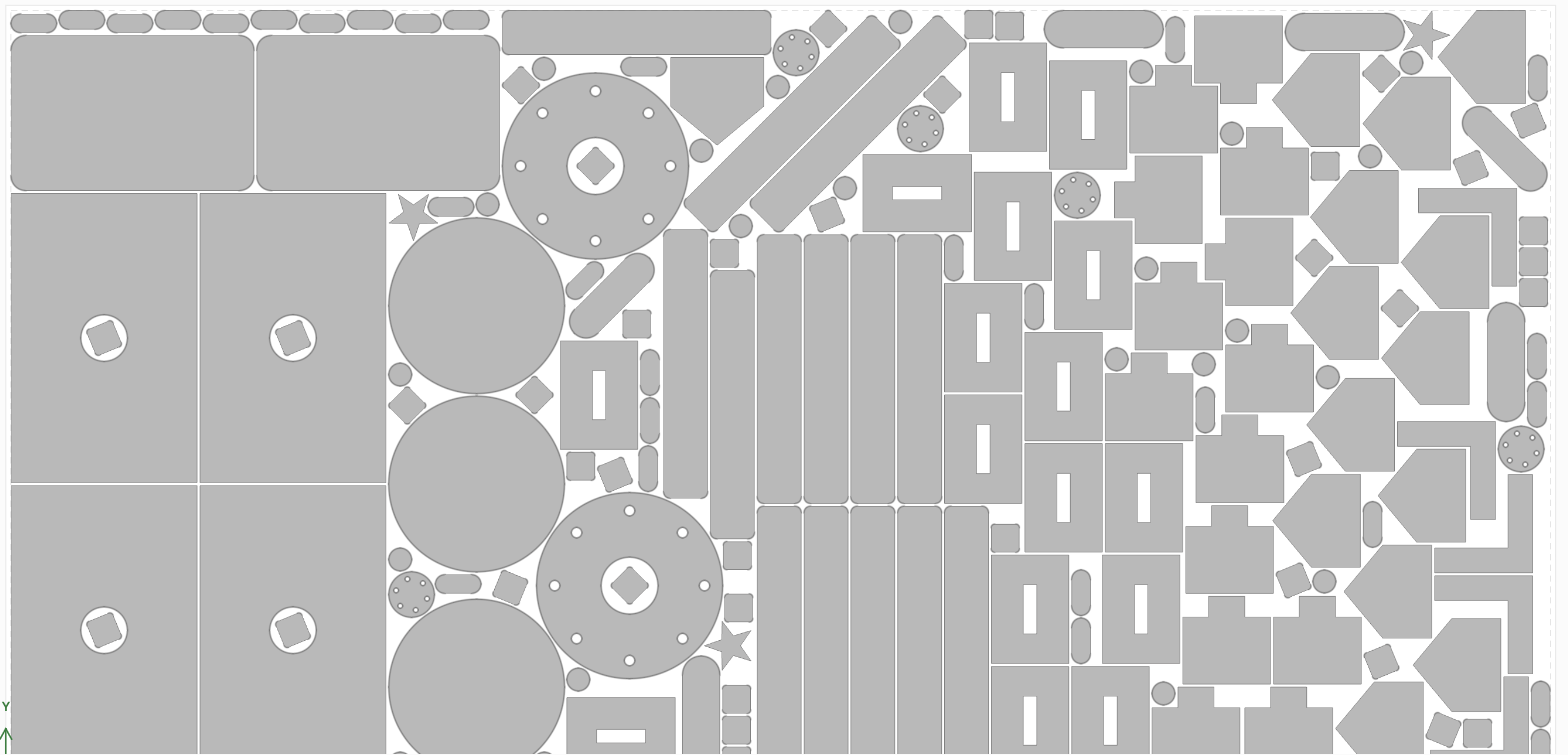
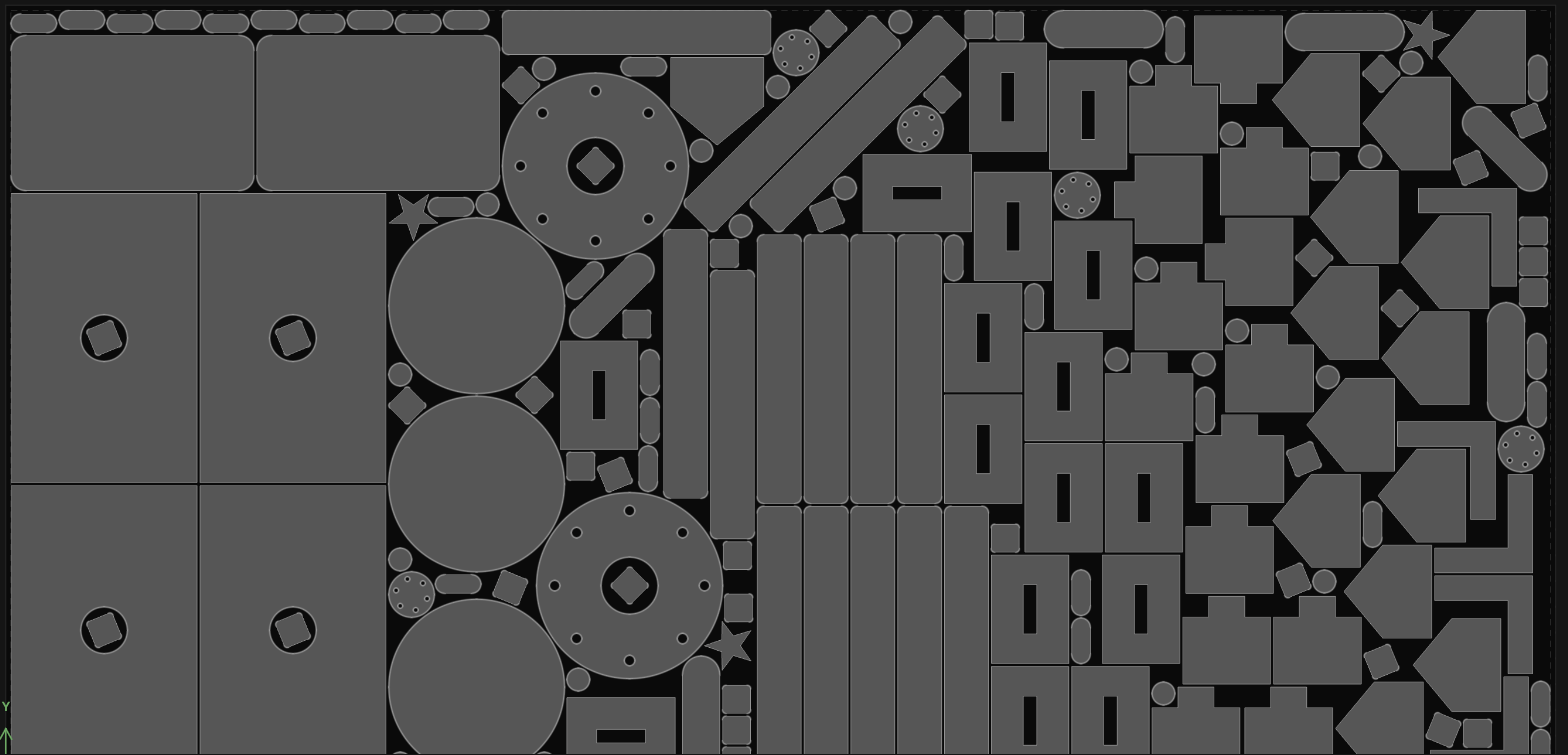
If the parts do not all fit on one sheet, NestMaxx continues onto more sheets automatically. See Multiple Sheets.
4. Review and adjust
Look over the result. You can:
- Change the density: a tighter nest packs parts closer but takes longer. See Quality and Speed.
- Change the spacing: set how big a gap to leave between parts. See Spacing and Clearance.
- Edit by hand: drag a part to a better spot, or rotate it. See Moving and Rotating Parts.
If you change a setting, press Nest again to repack with the new values.
5. Export
When you are happy with the layout, open Dock > Export 
 and save it as a DXF or SVG file to open in your machine software or drawing package. See Exporting DXF and SVG.
That is the whole loop: add parts, nest, adjust, export. Everything else in these docs builds on those five steps.
Next steps
- Learn your way around in The Workspace.
- Understand the ideas behind nesting in Core Concepts.