Importing CAD
When your parts already exist as drawings, you can bring them straight into NestMaxx rather than rebuilding them. It imports two file types: DXF and SVG.
Starting an import
Press Add parts 
 in the dock, then choose one of:
- Import CAD files for a DXF. Loose lines and arcs are welded into closed profiles, then shown to you for review before anything is added.
- Import vector files for an SVG. Curves (béziers and arcs) are fitted as true curves and recognised as outlines, holes and engraving.
Pick your file and NestMaxx reads it, then opens an Import review so you can check what it found.
Only DXF and SVG import directly. If your drawing is a PDF, convert it first with the free PDF to DXF tool, then import the DXF. To preview any file before importing, drop it into the DXF viewer. Both run on your device, with nothing uploaded.
Choosing layers (DXF)
A DXF can contain construction lines, dimensions and title blocks that you do not want to cut. If the file has more than one layer, NestMaxx shows a Choose layers step first. Only the layers you tick are imported as geometry, so leave construction, dimension and title-block layers unticked. (SVG files have no layer step.)
The import review
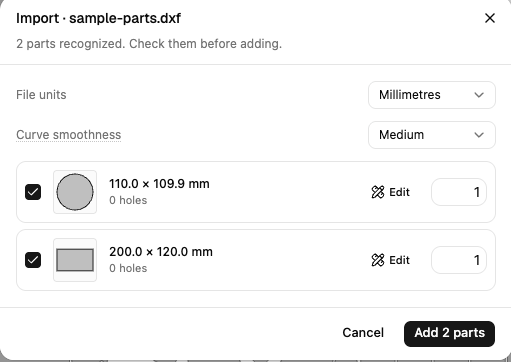
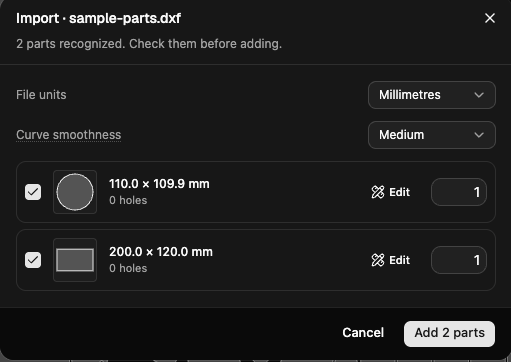
The review lists every part NestMaxx recognised. Check it before adding, using these controls:
- File units - tell NestMaxx whether the drawing is in Millimetres or Inches, so parts come in at the right size. If the file states its own units, that choice is pre-selected and shown as a hint. Getting this right matters: the wrong unit makes parts 25.4 times too big or too small.
- Curve smoothness - how finely curves in the file are converted into lines and arcs: Fine, Medium or Coarse. Fine follows the curve most closely with more, smaller segments; Coarse uses fewer, longer ones. Changing it re-reads the file straight away. Medium suits most work.
- Include each part with its tick box, and set a quantity for it.
- Edit a part to open it in the built-in CAD editor and fix it before adding, for example if a contour did not close cleanly.
NestMaxx also tells you when something in the file could not be used, so you can convert it to lines and arcs and re-import rather than cut a part with missing geometry.
After importing
Added parts join the Part List alongside any library shapes, and nest exactly the same way. From there you set quantities and run the nest as usual.
Tip: if a part will not import cleanly, it is often a contour that does not quite close. The Auto-repair option in Settings can weld near-touching ends into closed loops on import. See Preferences.